|
|
|
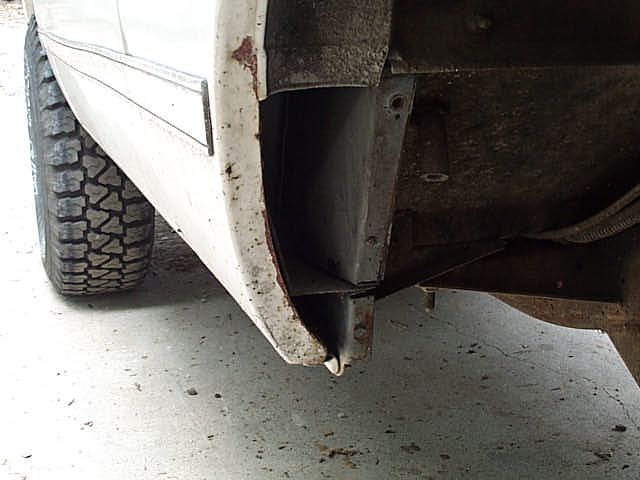
The top picture shows what the access area looks like; you are able to get to the entire area behind the wheel and on
top of the rocker.
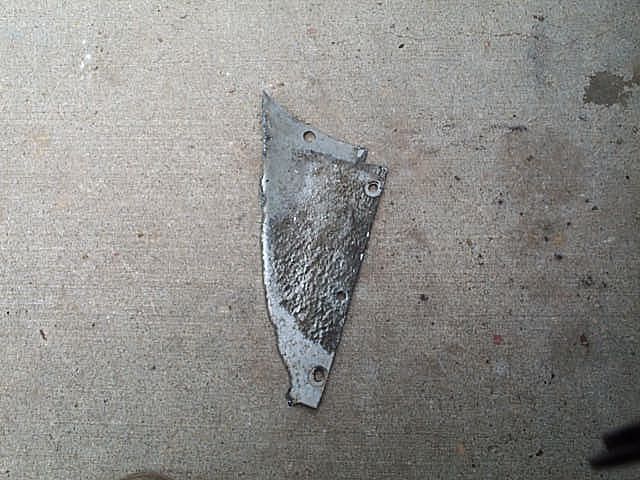
The second picture is the piece that you will be taking out;it is at the very bottom of the outer fender,
I just cut right along the natural 'line' that you will find there.
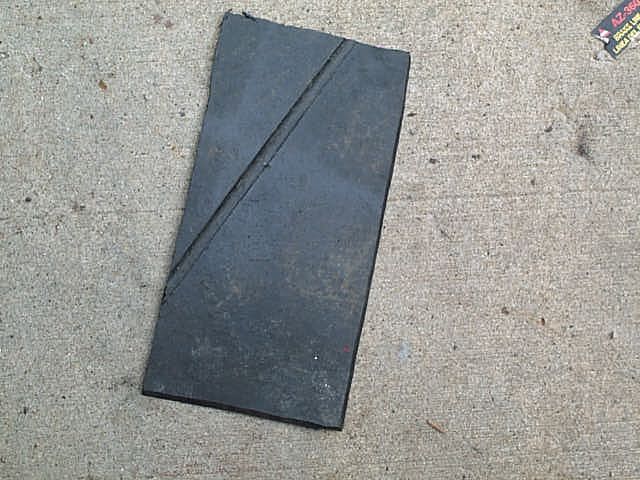
The third picture is the piece of rubber truck mudflap
I cut to fit. The mudflaps I used are about 3/8" thick, they are strong and semi-rigid but will also flex enough to go around
the curves at the top of the cutout area. You could use something thinner, and it would work as well.
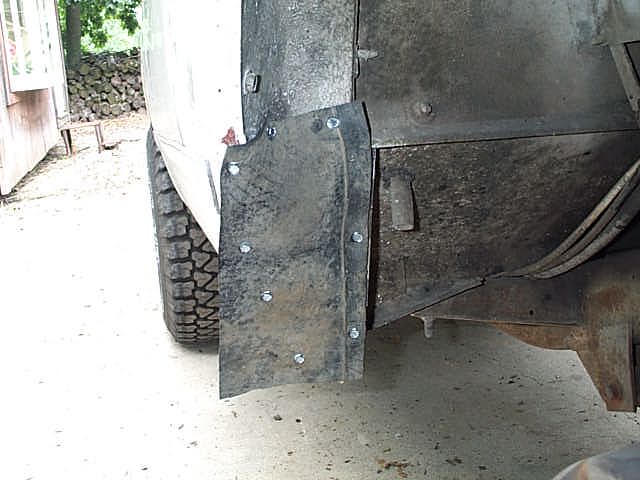
The last picture
is of the finished product; by removing the outer screws (which can be done in a couple of minutes without removing the wheel)
I can access the inner area and the inner rocker panel.
TRANSFER CASE MOD FOR EXHAUST CLEARANCE!!!
On the Dana 20 transfer case, there is an 'ear' that protrudes from the passenger side of
the transfer case. Evidently, it was used on some vehicles to provide extra support for the transfer case, or as an additional
mount. On our Scouts, it's not used and not needed. If you plan to run dual exhaust (or have dual exhaust now), the standard
procedure is for the muffler shop to flatten one side of the exhaust pipe where it passes between this 'ear' and the frame
to make room for it to fit. This ear can be cut off with no bad effects, and it will allow you to run up to at least a 2 1/4"
exhaust pipe through that area without having to dimple the pipe at all. I have done two transfer cases so far, on the one
I did in the truck I used a sawzall with a long metal cutting blade (three blades exactly, the cast iron of the transfer
case is way hard and eats saw blades, even good ones!). The second one was out of the vehicle, and was going in to replace
a single speed TC-143. I used a 3" cutoff tool on that one, it went quicker but took two cutoff wheels to complete the job.
Your muffler guy will love you for this!
REMOVING SCOUT II SPRING BUSHINGS-
Most people hate the idea of replacing the original spring bushings in their Scout II's
because of the problems you get into getting the old ones out. The outer metal case has fused to the spring, the rubber is
soft and won't apply any pressure to the case.... they can be a problem, and take hours to do. I've found the absolute best,
easiest way to do spring bushings is using a Harbor Freight C clamp style ball joint press. HF sells these for around $40
normally, although you can find them on sale sometimes for as low as $30. The 'eye' on the receiver end is sized perfectly
to take the old spring bushing when you press it out, as long as you're careful lining everything up when you start. I use
an impact wrench on mine, but no reason you couldn't use a ratchet or breaker bar- the impact is just faster. I've pulled
four spring bushings in as little as five minutes using this tool, and almost always it will take out the steel outer sleeve
along with the rubber and inner sleeve. If the outer sleeve stays in, it's a simple matter to hacksaw a slot in it and drive
it out with a chisel. With some maneuvering, youcan even do the frame bushings on a Scout II with the HF press, but it's rougher
on the back with the exhaust and rear fender extensions in the way. Once you have the tool, don't just use it for spring bushings,
it works super for pressing out stubborn U joints too! Be sure when you go to Harbor Freight, you get the ball joint press
that is the 'cast C clamp' style. They have one that is welded square tubing that is junk IMHO, the cast one is way stronger.
It is a 'clone' of an OTC tool that goes for around $125, course if you want quality you can get the OTC version.....
|